Follow Me On Social Media!
Cherry Cobbler Bliss: The Best Homemade Comfort Dessert
Introduction to Cherry Cobbler
If you’ve ever savored a warm slice of cherry cobbler, you know firsthand why this dessert holds a special place in the hearts of many. With its comforting combination of sweet, tart cherries enveloped in a buttery, flaky crust, it evokes memories of summer picnics and family gatherings. This humble dessert is more than just a treat; it’s a celebration of simple pleasures, blending the ease of preparation with the joy of sharing something delicious with loved ones.
The beauty of cherry cobbler lies in its versatility. Whether you prefer the traditional version topped with a biscuit or a cake-like crust, each bite transports you to a nostalgic space, where the aroma of baking fills the air, and laughter dances around the kitchen. For those of us who appreciate both taste and tradition, cherry cobbler is a recipe worth mastering. It’s a dish that invites creativity—adding spices like cinnamon or nutmeg can give it a delightful twist, while a scoop of vanilla ice cream on the side enhances that experience, transforming the dessert into something truly special.
Despite its rustic appearance, cherry cobbler brings a sense of elegance to any table. It’s the kind of dessert that shines at a summer barbecue or a cozy dinner, bringing together friends and family around the table to share stories and laughter. And let’s not forget how easy it is to prepare! Using fresh or frozen cherries can simplify the process, allowing even novice cooks to create a dish that feels homemade and heartfelt.
So, whether you’re looking to impress guests or simply indulge in a moment of sweetness after a long day, cherry cobbler is an excellent choice. Each time you fork your way through those layers of sweet cherries and buttery crust, you’ll appreciate the love and tradition that goes into this beloved dessert. Now, let’s dive into the key ingredients that make this cobbler a true standout!

Key Ingredients for Cherry Cobbler
Juicy cherries are at the heart of any delightful cherry cobbler experience, and there’s something about their sweet-tart flavor that can transport you back to summer picnics and family gatherings. Here’s what you’ll need to make this scrumptious dessert come to life.
-
Cherries: Fresh, ripe cherries are ideal for this recipe. Their natural sweetness and juicy texture create a vibrant filling that shines. If fresh cherries aren’t available, frozen or canned cherries can be good substitutes, but be mindful of the sugar content in canned versions.
-
Butter: Using unsalted butter is key for controlling the sweetness of the cobbler. It not only enriches the batter but also adds a luscious flavor to the topping. Melting it allows it to incorporate seamlessly, creating a soft yet crispy finish.
-
Sugar: Both granulated sugar and brown sugar help balance the flavors. Granulated sugar enhances sweetness, while brown sugar adds a hint of depth and moisture to the cobbler.
-
Flour: All-purpose flour is perfect for achieving the right consistency in the batter. This ensures that your cobbler is both tender and slightly crisp on the outside.
-
Baking Powder: This leavening agent is crucial for a light and fluffy topping, allowing it to rise beautifully as it bakes.
-
Milk: Whole milk adds creaminess to the batter, ensuring it bakes up moist and flavorful. If you prefer a dairy-free option, almond or oat milk can work too.
-
Vanilla Extract: A dash of vanilla extract elevates the flavor profile, adding an aromatic sweetness that perfectly complements the cherries.
These ingredients come together to create a comforting dessert that feels like a warm hug, ready to be enjoyed with a scoop of ice cream on top.
Why You’ll Love This Cherry Cobbler
When it comes to a delightful dessert, cherry cobbler captures the essence of warm, homemade comfort in every bite. Imagine a sunny afternoon, with the sweet aroma of cherries wafting through the air as you take your first spoonful. This recipe doesn’t just hit the spot; it transports you to memories of family gatherings and summer picnics.
-
Deliciously Simple: One of the best aspects of this cherry cobbler is its straightforward preparation. With just a handful of ingredients, you can whip up something that looks and tastes like it took hours to create. It’s perfect for both novice bakers and those seasoned in the kitchen looking for something easy yet satisfying.
-
Versatile & Customizable: Whether you prefer using fresh, frozen, or even jarred cherries, this recipe adapts beautifully. Each cherry offers its unique flavor, and you can mix and match with other fruits to create your signature spin.
-
Satisfying Texture: The contrast between the juicy filling and the buttery, flaky topping is truly irresistible. As you dig in, you’ll experience a delightful combination of flavors that is sure to make your taste buds dance.
In short, cherry cobbler is more than a dessert; it’s an experience filled with nostalgia, joy, and the satisfaction of creating something delicious.
Tips for Making Perfect Cherry Cobbler
Crafting the ideal cherry cobbler is more of an art than a simple recipe—you’re not just following instructions, but creating a delightful dessert that fills your kitchen with nostalgic aromas. Here are some essential tips that can elevate your cherry cobbler game.
Choose Quality Cherries
Using fresh, in-season cherries makes a significant difference. Look for plump and firm cherries that are bright red and juicy. If fresh cherries are out of season, frozen cherries work well—just thaw them and drain any excess liquid to prevent a soggy cobbler.
Balance the Sweetness
Don’t shy away from tasting your cherries before adding sugar. Depending on their ripeness, you might need more or less sugar. A hint of lemon juice enhances the natural tartness, adding complexity to the flavor profile of your cherry cobbler.
Mind Your Topping
For a delightful topping, consider using a combination of flour, sugar, and a pinch of salt. Some bakers prefer a biscuit-style topping, while others opt for a crumble. You can also sprinkle some oats into your topping for an extra layer of texture.
Bake Until Golden
The baking time is crucial; watch for a bubbling filling and a golden-brown topping. Don’t be afraid to let it go a little longer if needed—watching it bubble away is half the fun!
Perfecting your cherry cobbler takes practice, but with these tips, you’re well on your way to becoming a dessert master. Enjoy the process!
Time Details for Cherry Cobbler
Creating a heavenly cherry cobbler is not just a recipe; it’s an experience that brings the warmth of home to your kitchen. Understanding how much time to set aside can make all the difference when you’re planning your baking adventure.
Preparation Time
For this delightful cherry cobbler, you’ll want to allocate about 20 minutes for preparation. This includes pitting the cherries, mixing the fruity filling, and preparing the buttery topping.
Baking Time
Once you’ve assembled your cobbler, it will need about 35 to 40 minutes in the oven. This allows the topping to become golden brown and the cherries to bubble with joy!
Total Time
In total, you’d be looking at roughly 1 hour for the complete process, combining both preparation and baking. Trust me, the aroma wafting through your home will be well worth the short wait!
Nutritional Information for Cherry Cobbler
When you indulge in a slice of cherry cobbler, it’s not just about the sweet flavor and comforting aroma; it’s also about understanding what you’re putting into your body. This delightful dessert, often associated with summer gatherings and cozy evenings, can be enjoyed mindfully with a bit of nutritional knowledge.
Calories
A serving of cherry cobbler typically contains around 250 calories. This allows you to enjoy a piece without straying too far from your daily intake, balancing flavors and nutrition just right.
Protein
In each serving, you can expect to find about 3 grams of protein. While it’s not a significant source, it does contribute to the overall nutritional profile and offers a little sustenance to your sweet treat.
Sodium
The sodium content in cherry cobbler is generally low, averaging around 150 mg per serving. This makes it a relatively heart-friendly option, especially when paired with fresh cherries that pack a punch of flavor without excess sodium.
Now that you know more about the nutritional side of your favorite dessert, you can savor every bite of that cherry cobbler with a clearer conscience!
FAQs about Cherry Cobbler
Cherry cobbler isn’t just a dessert; it’s a delightful dish that brings nostalgia and warmth to any gathering. Whether you remember a family backyard barbecue or a cozy night in, this sweet treat never fails to evoke fond memories. Let’s dive into some of the most common questions about how to perfect your cherry cobbler experience!
Can I use fresh cherries instead of pie filling?
Absolutely! Using fresh cherries can enhance the flavor and texture of your cherry cobbler. Just remember to pit and slice the cherries before using them. To sweeten them up, consider adding a bit of sugar and letting them sit for a while to create a natural syrup. This method gives you that fresh burst of flavor that canned pie filling might not match.
What if I don’t have almond extract?
No worries at all! If you find yourself without almond extract, you can easily substitute it with other flavorings. Vanilla extract works wonderfully and adds a warm essence to your cherry cobbler. Or, if you’re adventurous, a splash of lemon or orange zest can brighten the dish!
How do I store leftover cherry cobbler?
To keep your leftover cherry cobbler fresh and delicious, allow it to cool completely, then cover it with plastic wrap or foil. It can be stored in the refrigerator for about 3 to 5 days. For longer storage, you might want to freeze it. Just ensure it’s in an airtight container, and it can last for up to three months. When you’re ready to enjoy it again, simply reheat in the oven for that freshly-baked taste!
Feel free to explore these options, and your cherry cobbler will surely be a hit!
Conclusion on Cherry Cobbler
In conclusion, making a delightful cherry cobbler can be a wonderful culinary experience that delights your taste buds and connects you to warm, sweet memories. This classic dessert brings the tartness of cherries together with a buttery, golden-brown topping, creating a harmony that is hard to resist. Whether you’re whipping this up for a casual family dinner or a special gathering with friends, the ease of preparation allows you to focus on enjoying the moment. So, grab your fresh cherries and indulge in the simple joy of homemade cherry cobbler — it’s sure to become a beloved staple in your dessert repertoire!
Print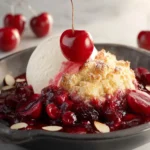
Cherry Pie Filling Biscuit Topping
- Total Time: 45 minutes
- Yield: 8 servings 1x
- Diet: Vegetarian
Description
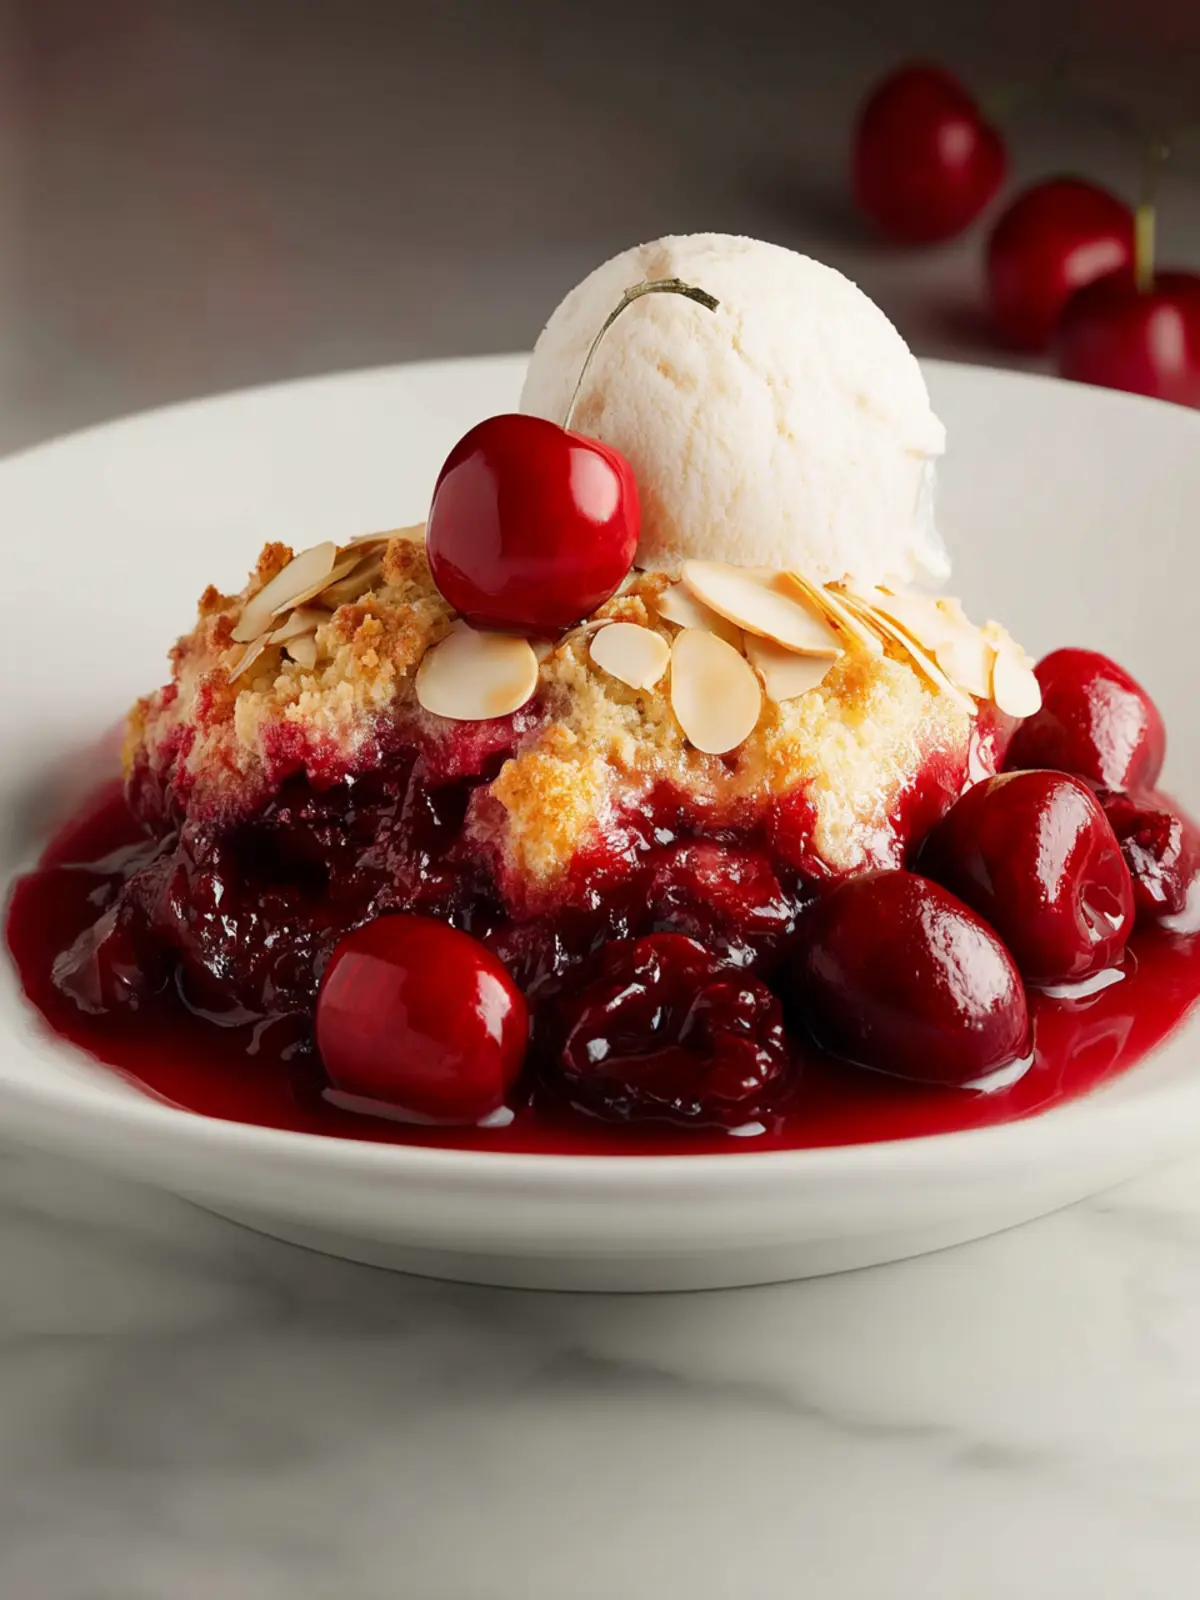
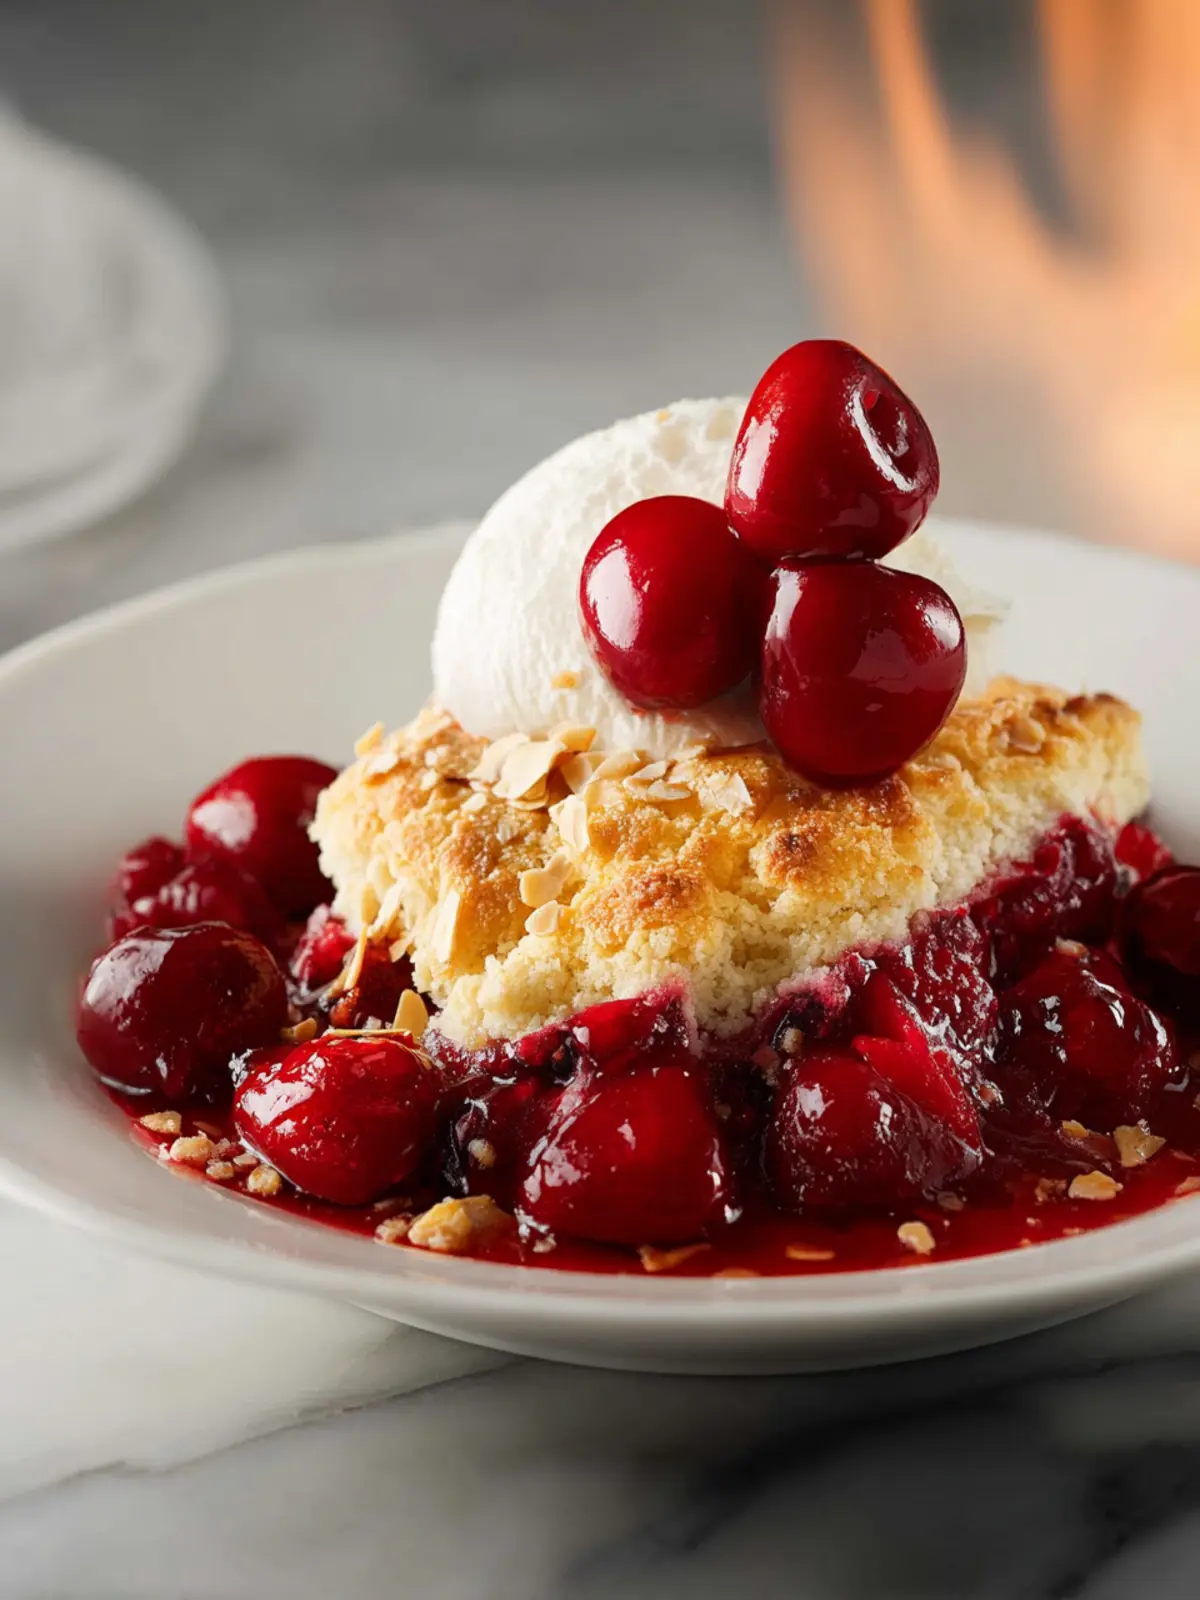
A delightful dessert featuring cherry pie filling topped with a biscuit-like mixture and garnished with toasted almonds and a sprinkle of cinnamon.
Ingredients
Scale
- 1 can (21 oz) cherry pie filling
- ½ teaspoon almond extract (or 1–2 tablespoons Amaretto)
- ⅔ cup flour
- 2 tablespoons granulated sugar
- 1 teaspoon baking powder
- 2 tablespoons milk
- 1 large egg
- 2 tablespoons butter (melted)
- 4 tablespoons toasted sliced almonds
- ¼ teaspoon cinnamon (for garnish)
- ¼ teaspoon granulated sugar (for garnish)
Instructions
- Preheat your oven to 425°F.
- In a 10 inch pie plate or an 8 inch square pan, add the cherry pie filling and mix in the almond extract. Set aside.
- In a medium bowl, add the flour, sugar, and baking powder, and stir.
- In a separate small bowl, add the egg and beat lightly. Then add the milk and melted butter, and stir.
- Add the milk mixture to the dry ingredients and stir to make a stiff dough.
- Spoon the dough into four even portions onto the cherry pie filling in the pan, making sure the dough is not touching the edges or each other.
- Bake for 25-30 minutes, until the cherries are bubbling and the biscuits are lightly browned.
- Remove from the oven and sprinkle with the extra sugar, cinnamon, and slivered almonds.
- Serve slightly warm with a dollop of whipped cream.
Notes
- This dessert can be garnished with whipped cream for added richness.
- For a nut-free version, you can omit the toasted almonds.
- Experiment with different fruit fillings for a variety of flavors.
- Prep Time: 15 minutes
- Cook Time: 30 minutes
- Category: Dessert
- Method: Baking
- Cuisine: American
Nutrition
- Serving Size: 1 piece
- Calories: 220
- Sugar: 12g
- Sodium: 150mg
- Fat: 9g
- Saturated Fat: 5g
- Unsaturated Fat: 3g
- Trans Fat: 0g
- Carbohydrates: 33g
- Fiber: 1g
- Protein: 3g
- Cholesterol: 25mg