
Follow Me On Social Media!
Red Velvet Whoopie Pies: Indulgent Treats You’ll Adore
Introduction to Red Velvet Whoopie Pies
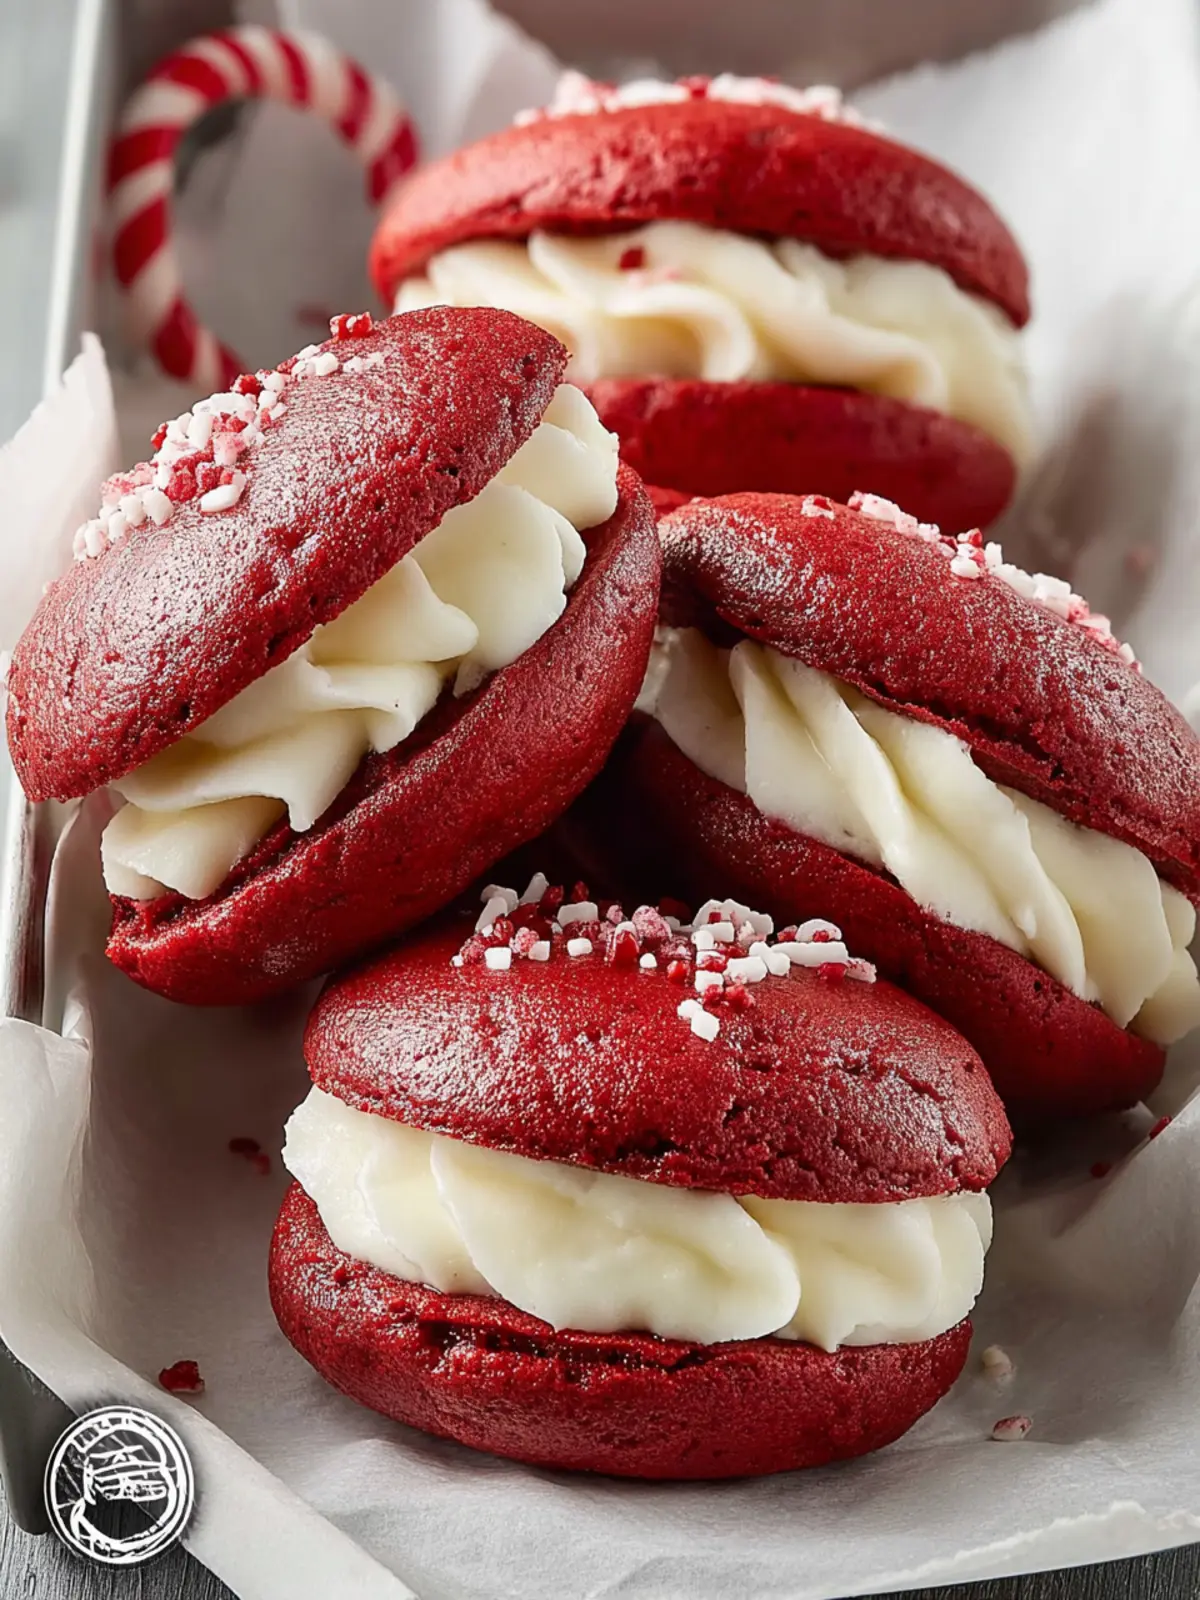
Imagine a delightful combination of rich, velvety cake and creamy frosting sandwiched between two soft, pillowy cookies—this is the magic of red velvet whoopie pies. Created as a playful twist to the classic red velvet cake, these treats bring joy to any occasion. Their striking color and delicious flavor make them irresistible, whether you’re hosting a dinner party, attending a potluck, or simply indulging in a sweet craving at home.
What Makes Red Velvet Whoopie Pies So Irresistible?
The allure of red velvet whoopie pies is more than just their vibrant appearance. The flavor profile is truly exceptional: the subtle cocoa taste combined with a hint of vanilla creates a uniquely decadent experience. The cream cheese filling, often enhanced with a touch of sweetness, perfectly complements the gentle richness of the cookie shells.
Here are a few reasons why they capture hearts—and taste buds:
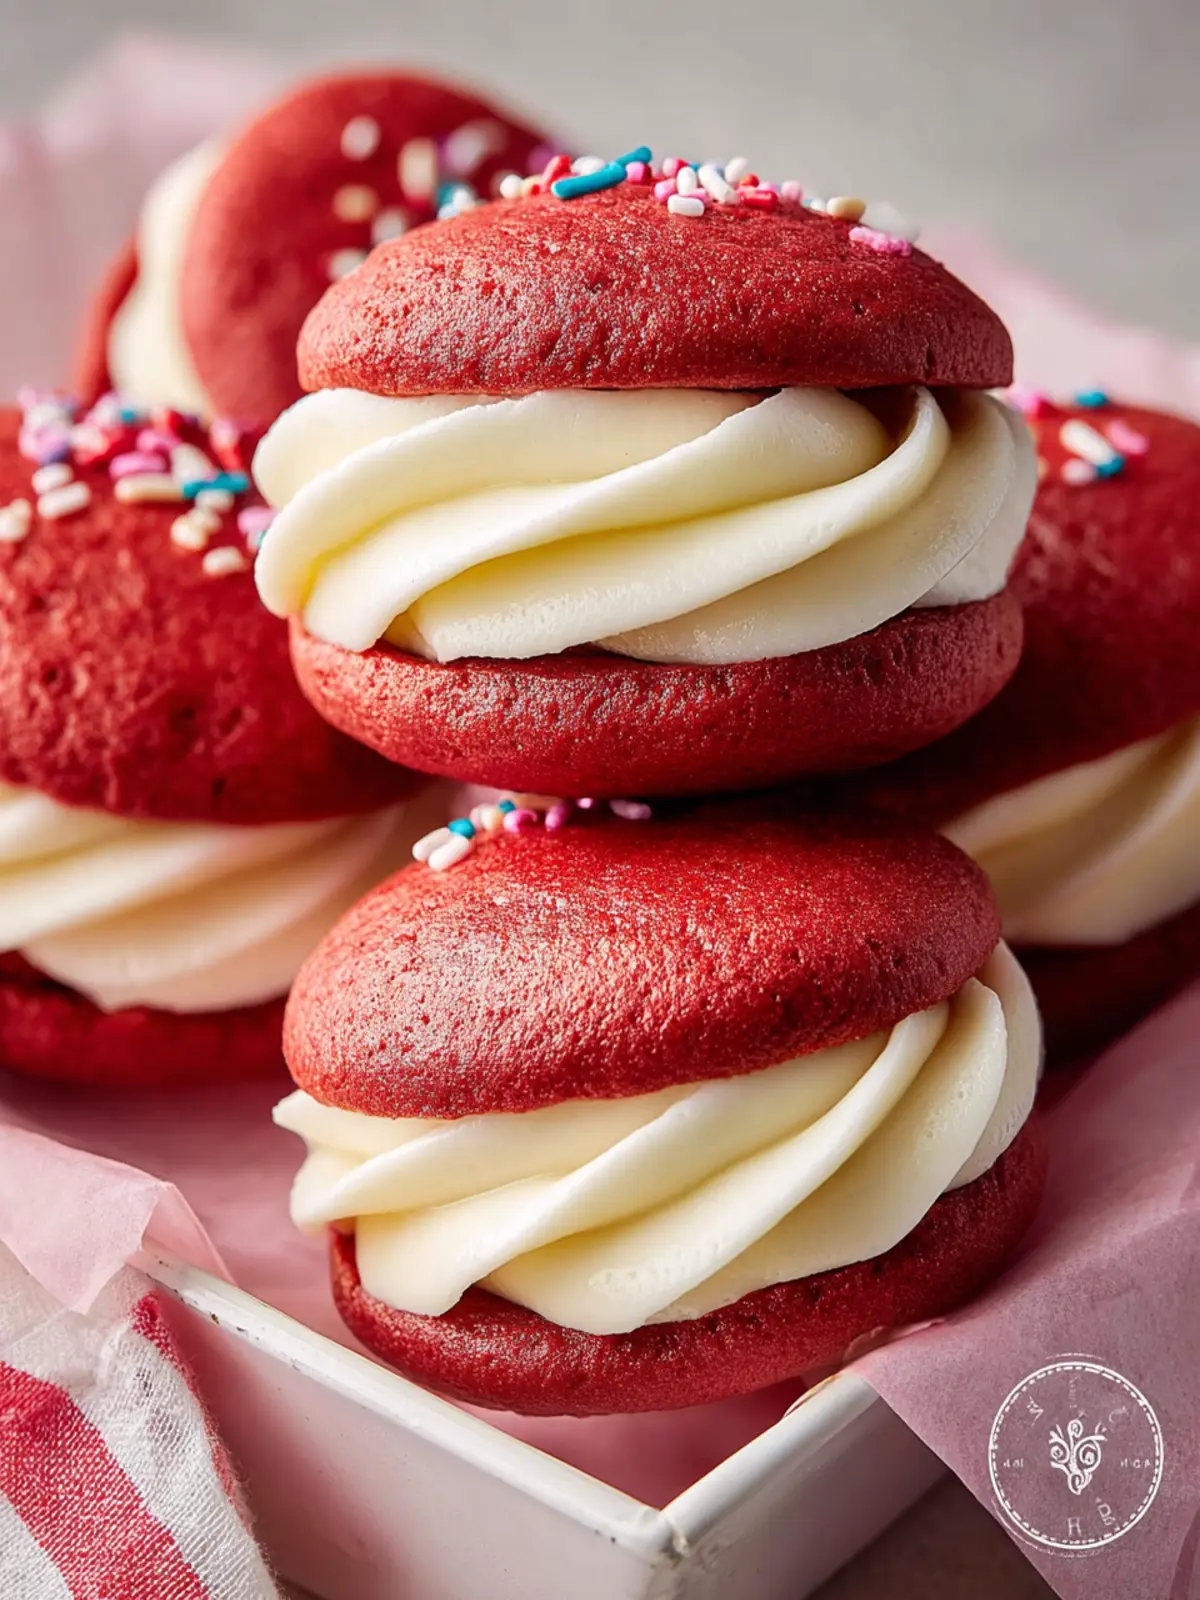
- Visual Appeal: The stunning red color makes these pies incredibly photogenic! Their bright hue contrasts beautifully with the white frosting, creating a dessert that’s as appealing to the eyes as it is to the palate.
- Texture Harmony: Each bite reveals a delightful contrast; the soft, moist exterior meets the creamy filling, creating a perfect balance of textures that keep you coming back for more.
- Versatility: Beyond their classic form, you can customize these pies with different fillings or toppings. Imagine a peppermint cream cheese filling in winter or a zesty lemon frosting to welcome spring! The options are endless.
- Nostalgic Charm: For many, red velvet brings back fond memories of celebrations, making these whoopie pies not just a dessert but a shared experience with loved ones.
With their charming looks and delicious flavor, it’s no wonder red velvet whoopie pies are a beloved treat. They invite you to enjoy the simple pleasure of homemade goodness—so why not gather your ingredients and whip up a batch today? You might just create a new favorite dessert tradition!
Key Ingredients for Red Velvet Whoopie Pies
The allure of red velvet whoopie pies comes from their rich flavor and visually striking appearance. These delightful treats are a nostalgic favorite for many, evoking memories of cozy kitchen gatherings and sweet indulgences. Let’s dive into the essential ingredients that will make your whoopie pies truly unforgettable.
-
Cocoa Powder: A touch of unsweetened cocoa powder gives these pies their signature flavor and enhances the beautiful red hue. It’s the secret behind that rich, decadent taste that pairs perfectly with cream cheese filling.
-
Buttermilk: For moisture and tang, buttermilk is a game-changer. It lends a subtle richness to the cake-like texture, ensuring your whoopie pies remain soft and tender.
-
Baking Soda and Vinegar: This dynamic duo works wonders! Baking soda reacts with vinegar to create a light, fluffy texture, giving those adorable pies their impressive rise.
-
Vegetable Oil: While butter adds great flavor to baked goods, vegetable oil provides moisture without making the cookies heavy. This balance is key in creating a chewy yet delicate whoopie pie.
-
Cream Cheese: The filling isn’t complete without a delicious layer of cream cheese frosting. It adds a perfect tang that complements the sweetness of the pies.
By focusing on these ingredients, you’re sure to create red velvet whoopie pies that are as delightful to eat as they are to share. Happy baking!
Why You’ll Love These Red Velvet Whoopie Pies
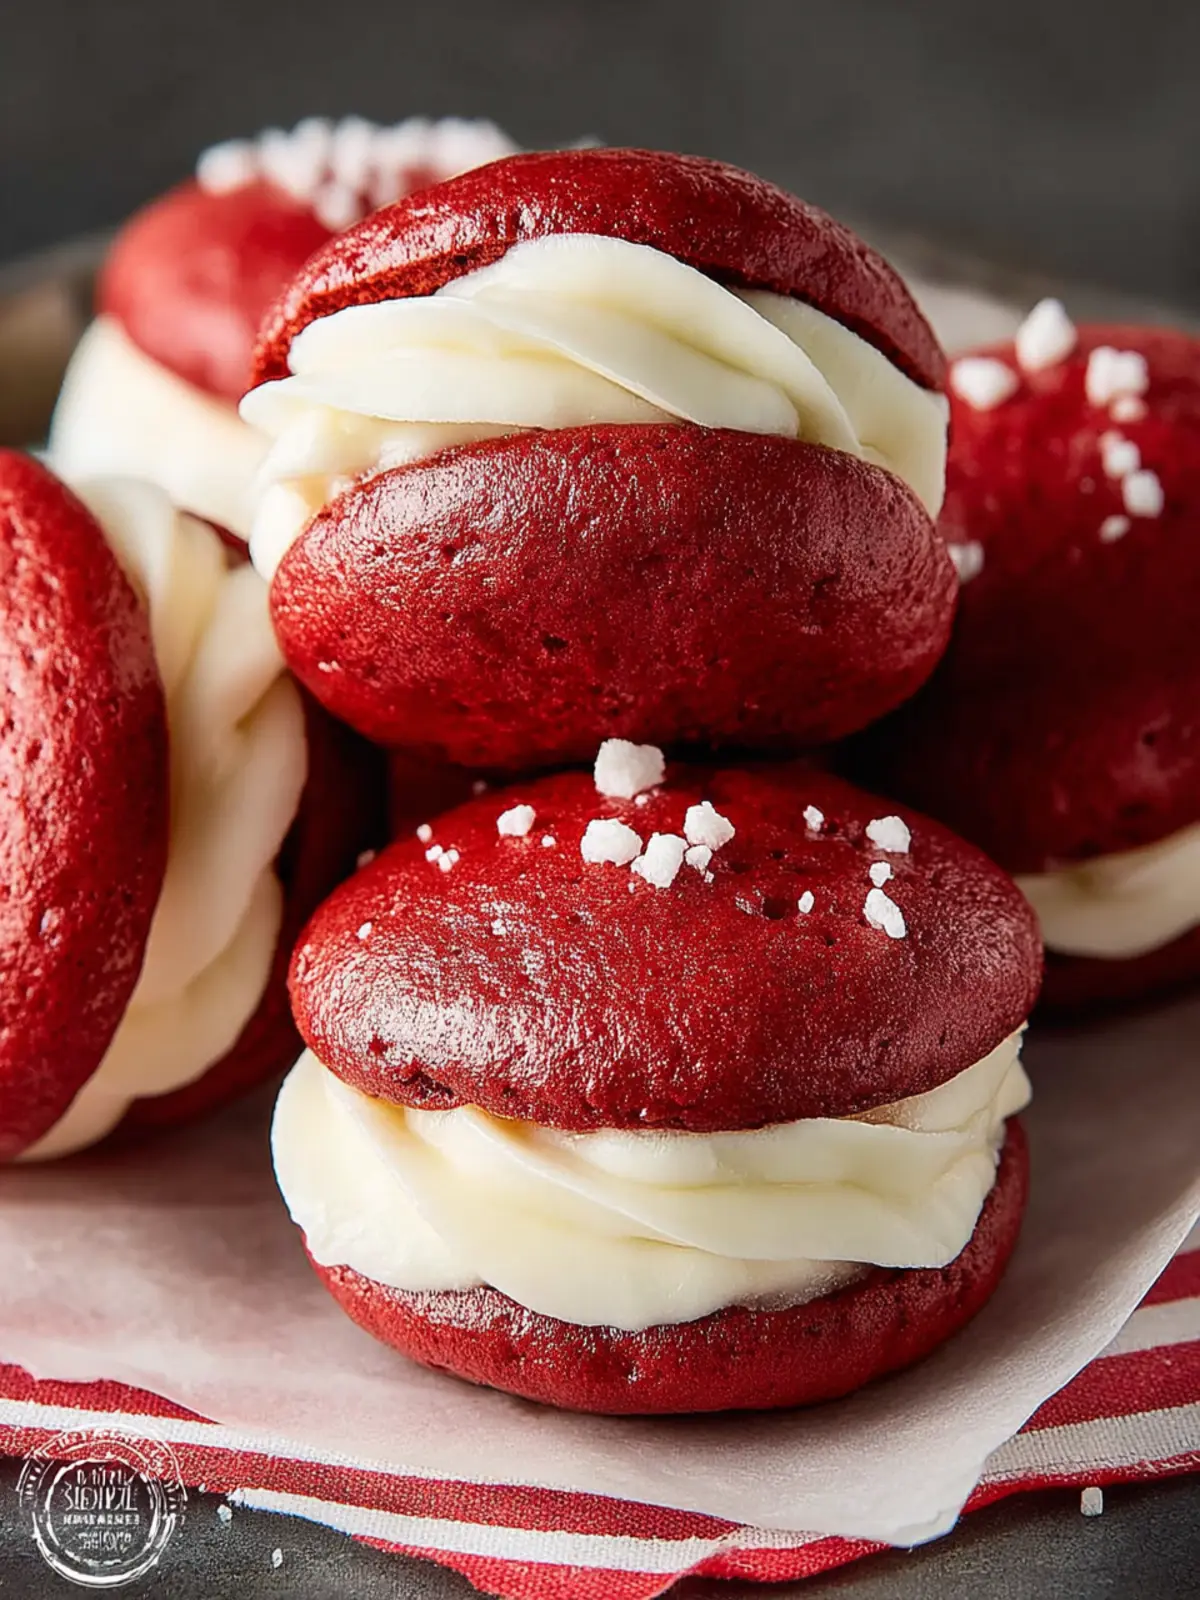
Imagine indulging in the luscious layers of red velvet whoopie pies, where each bite is a delightful blend of rich cocoa and velvety cream cheese. These delightful treats aren’t just a feast for the eyes; they offer a unique texture that’s both soft and sponge-like, creating a delightful contrast that keeps you coming back for more.
One of the best things about these whoopie pies is their versatility. Whether you’re celebrating a special occasion or simply want to indulge in a sweet treat after a long day, these pies hit the spot. You can even make them ahead of time and store them in the fridge for later—if they last that long! Plus, their vibrant color makes them a showstopper at any gathering, from brunches to birthday parties.
Let’s not forget about the rich cream cheese filling that complements the red velvet perfectly, offering a sweet and tangy taste that’s hard to resist. With a fan base that spans from grandma’s kitchen to trendy bakeries, these whoopie pies are bound to become a favorite in your home. Give them a try, and you’ll see why they’re the irresistible combination that everyone loves!
Variations of Red Velvet Whoopie Pies
Exploring red velvet whoopie pies opens up a world of delicious possibilities! Though the classic version is undeniably mouthwatering, jazzing it up with variations can add a delightful twist to your baking repertoire. Here are a few creative ideas to inspire your next batch:
-
Chocolate Chip Twist: Fold mini chocolate chips into your batter for a sweet surprise in every bite. The rich chocolate flavor balances beautifully with the chocolate-based red velvet, creating a harmonious blend that fans of sweet treats will love.
-
Cream Cheese Filling: Instead of the standard buttercream, try a tangy cream cheese filling. This adds a refreshing twist and pairs perfectly with the slight tartness of the red velvet. To elevate the flavor, you can even add a hint of vanilla or almond extract.
-
Mini Whoopie Pies: Who says bigger is better? Bake smaller versions of red velvet whoopie pies for a delightful party treat. They are perfect for sharing and allow for a cute presentation on platters.
-
Seasonal Flavors: Get inspired by the seasons! Consider adding spices like cinnamon or nutmeg for fall-themed whoopie pies or incorporating peppermint extract for a festive winter treat. These seasonal flavors can create a comforting warmth that makes every bite a joy.
Experiment with these variations and find a new favorite way to enjoy your red velvet whoopie pies!
Cooking Tips and Notes for Red Velvet Whoopie Pies
Creating the perfect red velvet whoopie pies in your kitchen can be a rewarding experience that sparks happiness with every bite. Picture this: the rich, velvety texture combined with creamy filling, creating bite-sized clouds of joy. Here are some helpful tips to elevate your baking game!
Focus on Quality Ingredients
- Cocoa Powder: Choose high-quality unsweetened cocoa powder for that deep, rich flavor that complements the red velvet perfectly.
- Buttermilk: Using real buttermilk brings the right acidity into the recipe, ensuring that your whoopie pies are tender and moist. If you don’t have buttermilk, simply mix regular milk with a tablespoon of vinegar and let it sit for a few minutes.
Achieving the Right Texture
- Mixing: Avoid over-mixing the batter after adding the flour. A gentle hand keeps your pies light and fluffy.
- Chilling the Filling: Allow your cream cheese filling to chill a bit after making it. This helps it set, making it easier to spread between your whoopie pie halves.
Perfect Baking Time
- Oven Temperature: Every oven is different, so keep an eye on your baking times. Slightly underbaking your red velvet whoopie pies is better than overbaking, as they will continue to firm up while cooling.
By following these tips, you’ll be well on your way to creating delightful red velvet whoopie pies that will impress family and friends alike. Happy baking!
Serving Suggestions for Red Velvet Whoopie Pies
These delightful red velvet whoopie pies are perfect for both casual gatherings and special occasions. Elevating their charm can be as simple as getting creative with presentation and pairings!
Engaging Pairings
- Cream Cheese Icing: Enhance the classic flavor by drizzling more cream cheese frosting over the pies, making them even more indulgent.
- Fresh Berries: Serve alongside a handful of fresh strawberries or raspberries. Their tartness provides a refreshing contrast to the sweetness of the pies.
- Ice Cream: Consider making a sundae twist by placing a scoop of vanilla or chocolate ice cream between two whoopie pies for a fun dessert experience!
Thoughtful Presentation
- Plates and Platters: Arrange your pies on a colorful platter or tiered cake stand. This not only elevates their visual appeal but also encourages guests to dig in!
- Personal Touch: If hosting a gathering, slip a personal note or fun fact about red velvet history next to each whoopie pie, sparking interesting conversations.
With these serving suggestions, your red velvet whoopie pies will surely steal the show at any event!
Time Breakdown for Red Velvet Whoopie Pies
Baking red velvet whoopie pies is not only a delightful culinary adventure but also a great way to impress friends and family. Let’s break down the time needed to create these fluffy, cream-filled treats.
Preparation Time
Setting aside about 20 minutes for preparation allows you to gather your ingredients and whip up the batter without feeling rushed. It’s the perfect time to enjoy the lovely scent of cocoa and vanilla filling the kitchen.
Baking Time
Once your whoopie pies are ready to bake, they need about 12 minutes in the oven. As they rise and gain that iconic red hue, you’ll find your anticipation growing!
Total Time
In just about 40 minutes, you can have a plate full of delicious red velvet whoopie pies. That’s less time than it takes to binge a couple of episodes of your favorite show! Enjoy this lighthearted baking journey.
Nutritional Facts for Red Velvet Whoopie Pies
When you sink your teeth into a delightful red velvet whoopie pie, it’s hard not to savor the moment. However, understanding its nutritional profile can enhance your enjoyment even more. Here’s a breakdown to guide you.
Calories
Each red velvet whoopie pie packs in about 200 calories. These morsels offer a satisfying treat without completely derailing your day’s caloric intake.
Protein
You can expect roughly 2 grams of protein in each whoopie pie. Combining this sweet indulgence with a protein-rich snack can help balance your intake throughout the day.
Sodium
With around 150 mg of sodium per pie, these delicious desserts are relatively moderate. This makes them a great choice for a satisfying treat while keeping an eye on your overall sodium consumption.
Enjoying red velvet whoopie pies can be guilt-free when you understand their nutritional value!
FAQs about Red Velvet Whoopie Pies
Red Velvet Whoopie Pies are a delightful treat that combines the rich flavors of classic red velvet cake with a fluffy cream cheese filling, making them irresistible to anyone with a sweet tooth. If you’re new to baking these charming desserts, you might have a few questions. Here are some answers to common inquiries.
Can I use other food colorings for Red Velvet Whoopie Pies?
While traditional red velvet recipes call for red food coloring, you can experiment with other natural food colorings like beet juice or pomegranate juice for a subtle hue without the artificial additives. Just keep in mind that the shade and overall outcome might vary slightly. The signature red is what makes these whoopie pies pop!
How can I store leftover whoopie pies?
If you find yourself with extra red velvet whoopie pies, you can store them in an airtight container. To maintain freshness, place parchment paper between layers to prevent sticking. They will last for about 2-3 days at room temperature or up to a week in the fridge. Just remember to let them come back to room temperature before enjoying for the best texture.
What can I substitute for buttermilk in this recipe?
Buttermilk adds the perfect tang and moisture to your whoopie pies, but if you’re out, don’t fret! You can create a quick substitute by mixing 1 cup of milk with 1 tablespoon of vinegar or lemon juice. Let it sit for about 5-10 minutes, and voilà! You now have homemade buttermilk that works beautifully in this recipe. Feel free to get creative, and you’ll still end up with delicious results.
Conclusion on Red Velvet Whoopie Pies
Creating red velvet whoopie pies is not just about baking; it’s a delightful way to bring joy to any gathering. These soft, cake-like cookies, sandwiched with creamy frosting, invite smiles and spark conversations. Whether you’re celebrating a special occasion or simply indulging on a weekend, these treats are sure to impress. From their vibrant color to their delicious flavor, every bite delivers a sense of nostalgia blended with a modern twist. So, gather your ingredients, embrace the process, and let these scrumptious whoopie pies elevate your dessert game. Happy baking!
Print
Red Velvet Sandwich Cookies
- Total Time: 35 minutes
- Yield: 24 cookies 1x
- Diet: Vegetarian
Description
Delicious red velvet cookies filled with a creamy frosting, perfect for a sweet treat.
Ingredients
Scale
- 2 ½ cups all purpose flour
- 2 tablespoons cocoa powder
- 1 teaspoon baking soda
- 1 teaspoon baking powder
- ½ teaspoon salt
- ½ cup unsalted butter (softened to room temperature)
- 1 cup granulated sugar
- 1 large egg (at room temperature)
- 2 teaspoons red food coloring
- 1 teaspoon pure vanilla extract
- ½ teaspoon white vinegar
- 1 cup buttermilk (at room temperature)
- 4 ounces cream cheese (softened to room temperature)
- ¼ cup unsalted butter (softened to room temperature)
- 1 ½ cups powdered sugar
- 1–2 tablespoons heavy cream
- ½ teaspoon pure vanilla extract
Instructions
- Preheat your oven to 350°F (180°C) or 160°C if you have a fan oven. Line 3 cookie sheets with parchment paper or silicone baking mats.
- In a large mixing bowl, whisk together the flour, cocoa powder, baking soda, baking powder, and salt; set aside.
- In a separate bowl, cream together the butter and sugar until light and fluffy, about 2-3 minutes.
- Mix in the egg, red food coloring, vanilla extract, and white vinegar until fully combined.
- Add the dry ingredients to the butter mixture and mix at low speed until combined. Add the buttermilk and mix until smooth.
- Scoop the batter using a small cookie scoop (approximately 1 ½ tablespoons) and place it on the prepared baking sheets, spacing them 2 inches apart.
- Bake for 12-15 minutes or until the cookies are puffed and a toothpick inserted into the center comes out clean.
- Allow the cookies to cool on the baking sheets for 5 minutes before transferring them to a wire rack to cool completely.
- In the bowl of a stand mixer, beat the softened cream cheese and butter until smooth and creamy.
- Gradually add the powdered sugar in two additions, mixing well after each addition.
- Add 1-2 tablespoons of heavy cream and beat on high speed until the frosting reaches the desired consistency. Mix in the vanilla extract.
- Pipe or spread frosting onto the flat side of half the cookies.
- Top with the remaining cookies to create sandwiches.
Notes
- The cookies can be stored in an airtight container at room temperature for up to 3 days.
- You can adjust the amount of red food coloring to achieve your desired color intensity.
- Prep Time: 20 minutes
- Cook Time: 15 minutes
- Category: Dessert
- Method: Baking
- Cuisine: American
Nutrition
- Serving Size: 1 cookie
- Calories: 150
- Sugar: 15g
- Sodium: 100mg
- Fat: 6g
- Saturated Fat: 4g
- Unsaturated Fat: 2g
- Trans Fat: 0g
- Carbohydrates: 23g
- Fiber: 0g
- Protein: 2g
- Cholesterol: 20mg